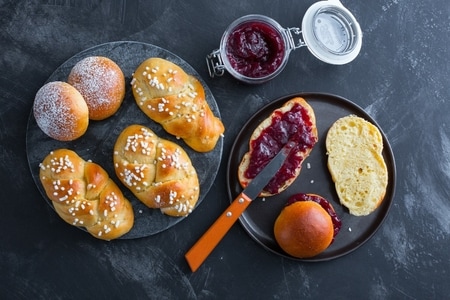
Brioches
Brioches are soft and fluffy balls of leavened dough to be consumed for breakfast. They can be enjoyed plain or filled with various creams!
- Average
- 60 min
"How do you tell how good bread is without tasting it? Not the smell, not the look, but the sound of the crust: a symphony of crackle." That's what Mademoiselle Tatou said in the Disney film Ratatouille and we imitated her in the kitchen of Giallozafferano: we prepared a fragrant bread with a crisp crust and a soft interior, with a thick honeycomb texture. The preparation of bread dough is a timeless recipe, magic that will take shape in your hands: water, flour and yeast to prepare a delicious loaf of bread baked in the oven at home, with all the necessary tricks to get a crackling crust! Early evidence of bread dates back to prehistory, when man realized that he could obtain a workable dough from ground acorns mixed with water. His wonder grew even more when he learned to bake this dough on hot stones, obtaining a harder but surely tastier product: the first attempt at baking bread. Of course, over time, the techniques for making bread dough have been refined, particularly in the more careful selection of ingredients. Are you curious to find out more about the history of bread making? Find out from the interesting fact box at the bottom of the recipe. In the meantime you can get ready to bake: with the basic dough for bread, in fact, you can make countless specialties, including pizzas, focaccia and savory pies, as well as many varieties of bread, rolls, bread loaf and baguettes with the addition of seeds or various seasonings. Above all, you can enjoy some excellent homemade bread croutons to sop up the sauce as in the recipe for chicken cacciatore (chicken stew with peppers)!

To prepare the bread dough first, start by dissolving the fresh brewer's yeast in water at room temperature 1. Then pour both flour 00 and manitoba 2 into a large bowl and add 1 teaspoon of malt 3.

Start mixing with one hand and with the other pour the water a little at a time 4, adding about half of it, and when it is completely absorbed add the salt 5. Knead again 6

and add the rest of the water a little at a time 7 as you continue to knead. Once you have added the last part of water, continue kneading inside the bowl for about ten minutes 8, until the dough is nice and tight. If you prefer, you can do these steps using a mixer fitted with a hook, starting with a moderate speed and increasing it slightly at the end. Now let the dough rest for about ten minutes, no need to cover it 9.

After the dough has rested, transfer it to a lightly floured surface with the help of a blade 10. Fold and unfold the dough as you knead it. Spread the dough with your hands 11, then fold two of the 4 outer edges towards the center 12.

Fold the other two flaps of dough towards the center 13 and turn the bread upside down 14. Rotate the dough, swirling it with your hands on the worktop to give it a round shape 15.

Then transfer it to a lightly floured bowl 16, cover with plastic wrap 17 and leave to rise for about 2 hours or until it has doubled in size 18. If the temperature is quite high, just leave it in the kitchen, away from drafts; in winter, instead, it is advisable to leave the dough to rise in the oven, turned off, with the light on.

Now transfer the dough onto a lightly floured surface 19 and repeat the same steps as before. Fold it 20, then turn it upside down and rotate it 21.

As soon as you have obtained a round shape, transfer it to a previously floured baking pan 22, cover with a damp cloth 23 and leave to rise for another hour. When it is well risen 24, heat the static oven to 480°F (250°C)

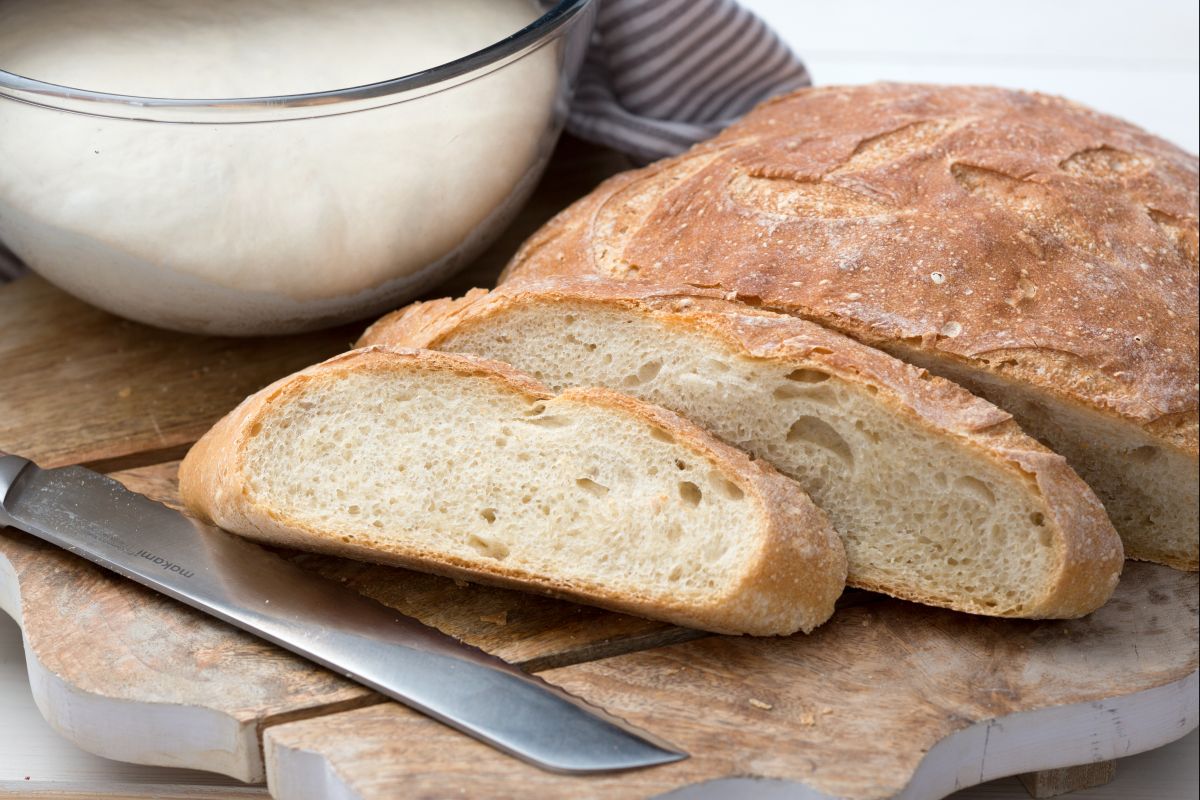
and make decorative slashes with a knife (25-26). Now reduce the temperature of the oven to 440°F (230°) and place a bowl full of water on the bottom, it will help provide the right amount of moisture. Place the bread on the central shelf and bake for 20 minutes, then lower the temperature to 350°F (180°C), take out the bowl of water and continue baking for another 35 minutes, simulating the open valve, i.e. slightly opening the oven door and inserting a pot holder to leave it ajar; this way the bread will be drier. Once out of the oven 27, let it cool down before slicing it!