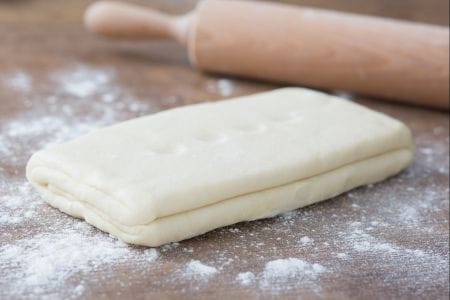
Puff pastry
Puff pastry is a typical basic preparation used in pastry for the realization of many sweets and savory pies.
- Difficult
- 1 h 20 min
- Kcal 452

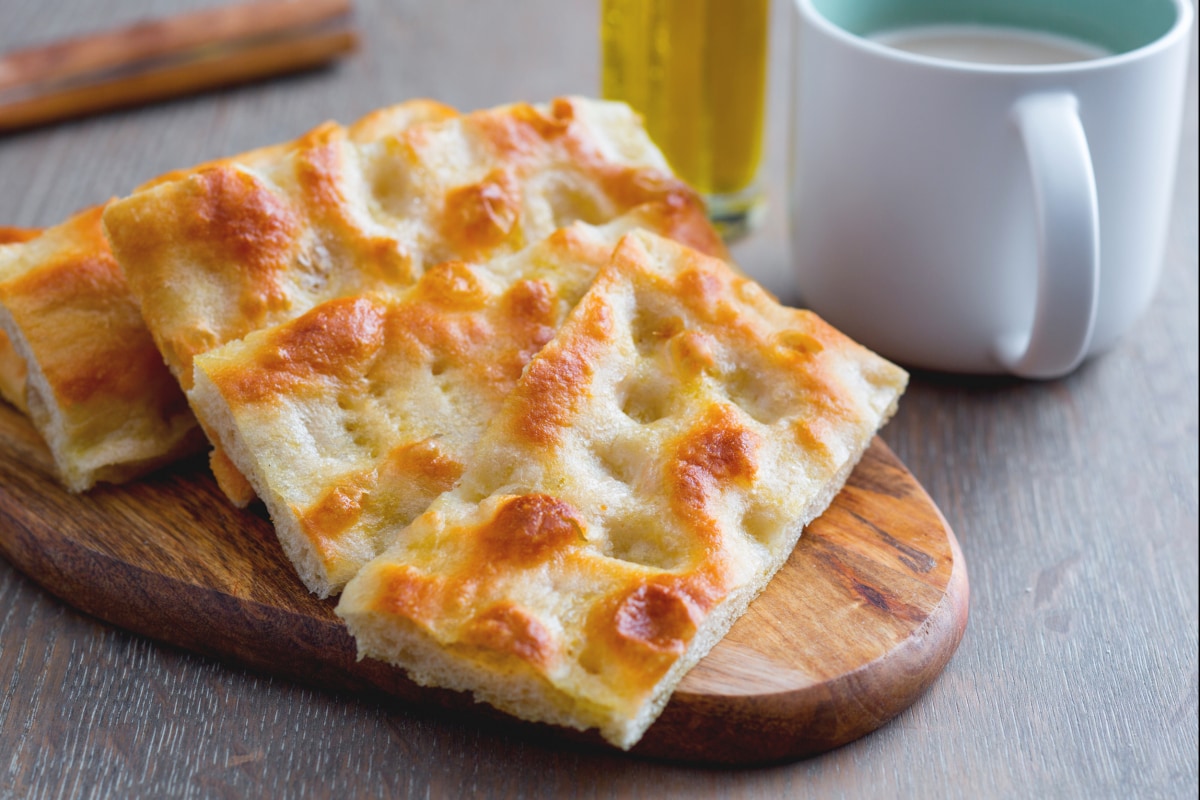
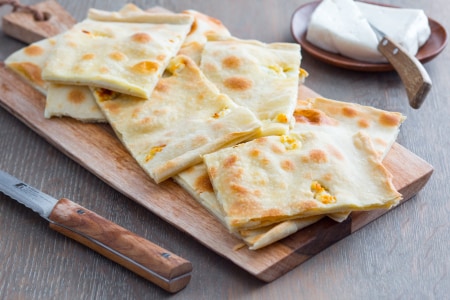
Focaccia alla genovese, in dialect "fügassa", is a typical Ligurian speciality and its ancient preparation is so deeply rooted in the Genoese tradition that it became part of the Slow Food movement. It is famous all over the world even though it's practically impossible to recreate its fragrance and goodness outside its territory of origin. So we relied on the mastery of the Ligurian chef Ezio Rocchi, to share the secrets to replicate it at home. The method we suggest is faster than what the Slow Food movement suggests (which indicates about 8 hours for the entire production process), although through the working, setting and resting phases you will have to wait a few hours before eating this extraordinary product. We respect the essential characteristics because we are talking about Genoese focaccia: a thickness of two centimeters as per tradition, balanced consistency between crunchiness and softness, crispness, gloss and, of course, make sure it's not rubbery!

To prepare focaccia alla genovese, pour the Manitoba wheat flour and 00 flour into a bowl 1. Mix with a long handled scraper 2, then form a slight hole in the middle and pour in almost all the water 3.

Mix again to absorb the water 4, then add malt 5 and salt all together 6.

Mix and pour in the remaining water 7 and work again with the long handled scraper to obtain a homogeneous dough 8. Once salt has been added to the flour you can add the crumbled brewer's yeast 9.

Mix a bit more with the spatula and the dough is ready 10 to be transferred to the worktop and continue to work by hand, very energetically 11. If there is some unabsorbed flour left, it doesn't matter: it will be absorbed by working it, pressing with the palm of your hand while kneading, just "tear the dough" replicating the movement of the machine. After a few minutes, when you see that the gluten mesh is forming, meaning the dough is more homogeneous and almost elastic, pour the oil onto the dough 12.

Continue to work on the worktop to absorb all the oil, continuously kneading vigorously. Depending on the type of flour used, it may be necessary to dust with a little bit of flour while you are working. It will take 13-15 minutes 13 to obtain a smooth and homogeneous dough. You can cover it up and let it rest for a few minutes 14. Then take the towel off 15.

Make a ball by rolling it from the top 16, you will notice that in a few seconds it will become smooth. Divide the dough into two 1.1 lb. (500 g) pieces 17 and make it into a rectangular shape by pushing it down with your hands 18.

and give it a triple fold. To do this, fold the dough onto itself, bringing one flap inwards and then folding again, leaving a line underneath 19 and rolling it up to finish, so that the closure remains in contact with the worktop, lightly dusted with flour 20. Repeat the same operation for the other half of the dough. Cover with a cloth 21 and let rest for about 30 minutes.

Remove the cloth 22, take one of the two pieces and keep the other covered. Grease the first pan 11" x 16" (30x40 cm) with 1.1 tbsp (15 g) of oil, with no need to oil the corners 23. Place the loaf on a floured surface, push it down with your fingers to enlarge it, always using only the index, middle and ring fingers, so only 3 fingers of the hand 24.

Then roll out the dough with a rolling pin, turning the dough from time to time so as to keep a rectangular shape 25. Put your hands underneath the dough, then turn them so the back of your hands lifts the dough up to lay it on the baking tray without damaging the dough covering 70-80% of the tray 26. Cover with a cloth 27 and let rest for 20-30 minutes. In the meantime, repeat the same operation for the second loaf of dough.

At this point sprinkle your focaccia with a little flour 28, push down well with your fingertips spreading the dough all over the pan, starting from the perimeter to create a small edge 29. It is important that the dough sticks well to the pan, so when you pour brine over it, the brine will not end up on the bottom. Smooth the surface as much as possible with the palm of your hands 30,

cover again and let rest for an hour 31. At this point prepare the brine by mixing water and salt together 32, until dissolved 33.

Uncover the focaccia, sprinkle it with a small amount of flour 34 and with the same three fingers (index, middle ring fingers) make the typical holes by applying good pressure and pushing towards the edges: your fingers must not be perpendicular to the dough, but slightly angled. You need to leave about 1/2 inch (1 cm) between holes 35. When you are almost finished making all the holes, rotate the baking tray, so it will be easier to make all the holes even along the remaining edge 36.

Now pour 2 tablespoons (30 g) of oil and 0.4 cup (90 g) of brine 37 into the center of each focaccia. Spread it gently with your hand to fill all the holes. Let it rise for another 40-45 minutes, this time without covering it 38. Cook in a static oven preheated to 450° F (230°) for 15 minutes (if the oven is very powerful, we recommend adjusting the bake time, but not the temperature of your oven). When the surface is golden you can take out your focaccia 39! Let it cool down for a few minutes, cut it up and serve it!